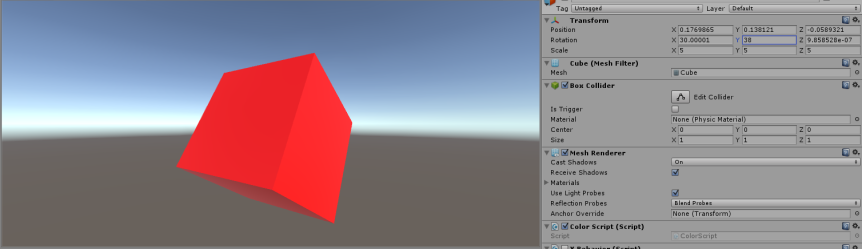
This week, my group was able to accomplish a few things. We were able to get the accelerometer working so that every time we tilt the Arduino set-up, we were able to get number readings in Arduino. We also figured out a code for how to change the color of our object in the Unity 3D interface. However, there were many issues in figuring out how to get the color to work with our potentiometers, and for now, we are only able to change the color based on the keys that a color is bound to. For example, if you bind red to the number key “1” and blue to the number key “2”, then the colors will shift from red and blue when you press 1 and 2. The problem is that we want this to work similar to a color dial where if we turn the potentiometer, then the color will shift according to the output values in Arduino.
Some other issues we ran into were programming in C# so that our shape will transform in multiple directions, but when rotating the potentiometer, the shape would only grow or shrink in one direction. However, we are currently in the works of programming the shape to both change color with one potentiometer and for the other potentiometer to scale the object simultaneously.
Once we are able to get multiple potentiometers working together, then we can start focus on packaging the Arduino set-up. Right now, we have two separate Bread boards with potentiometers and an accelerometer, but we plan on having one combined set-up for this project. Ideally, we will be able to control our object model via Bluetooth, which connection was established last week, and to be more refined in the upcoming weeks.